(first published May 2020; updated October 2022)
video chat tips: adventures in virtual conferencing
The pandemic has forever changed our way of doing many things. Very quickly I started to get calls and emails about how to raise the quality of Zooms, Face Times, and other internet video methods. For many, this is uncharted territory. I was surprised at how little I’d thought about it too, being perfectly happy with an image of myself worse than my passport photo. MUCH worse. Which is embarrassing. And unnecessary.
Now that FaceTime, Skype, and Zoom are a part of our daily life more than ever (probably for good), you might agree it’s time to evaluate the visual possibilities.
Come take a look at some ideas and gadgets to help you look and sound better, and not have your work-at-home privileges revoked. It’s a sliding scale; you don’t have to try everything. We have different goals. Nobody is saying your image has to be perfect. It all depends on how deep you want to go, and on your budget - but do apply some basic principles. In the end, just maybe, you’ll impress your coworkers, friends, and family too.

A word about cell phones:
Being able to video call anybody, anytime, anywhere, is fantastic. While walking around - amazing. But if you’re doing something more serious and/or work related…not so much. With each additional participant, people get tinier and tinier and you lean in closer and closer until everything implodes into uselessness.

Seriously?
This is why I suggest a desktop monitor, a laptop, or an iPad, in that order - again, for work or serious meetings. Grandma doesn’t care, honestly. She’s just happy to hear from you.
Smart people use horizontal format (landscape mode). I know, Instagram Live and other social media apps like vertical format (portrait mode), but as a cinematographer, it causes me great pain.
However, if you must use your cell phone, at least get something to hold it and raise it, rather than leaning it against that can of soda.


Camera Distance
Cell phones, laptops, and webcams all have very wide angle lenses, so positioning yourself is important. Too far, and you become too small to see. Too close is even worse, because you end up distorted and scary. How do you adjust? By moving your chair. You got this.

Too far…

…too close…

…just right.
Lens Height
This one’s critical…but easy. Influencers half your age understand this: even if you’re not a photographer or filmmaker you know a camera shouldn’t be looking up your nostrils. Your co-worker shouldn’t be either. Nor is he/she interested in your ceiling.

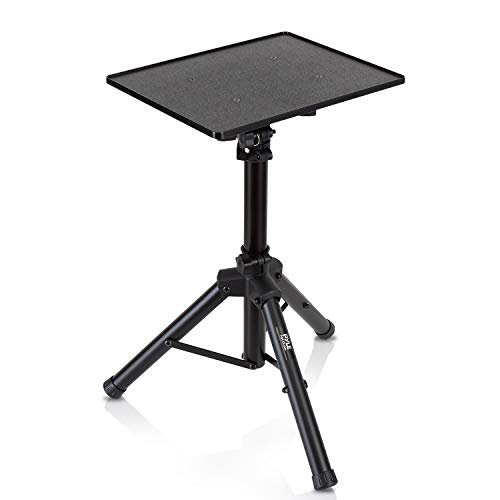
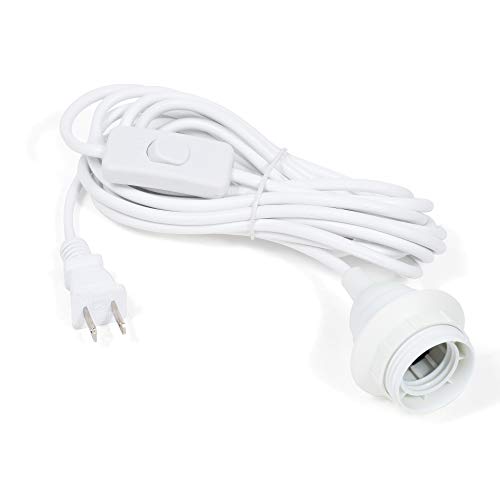
Quite often we’re complacent about this because ‘that’s how my laptop’s made’ or ‘I’m just leaning my phone on the soda can’. People. PLEASE. Use boxes, The Compleat Invocation, or whatever’s nearby to raise that thing. Try to aim for eye level or slightly higher. In doing so, you’ll get a more flattering image, and as a bonus, better posture. Use a laptop riser for your desk, if you’re into aesthetics, or want less neck pain. Sometimes, I use a stand-alone stand, like a little table, to keep my desk clear.

The Background
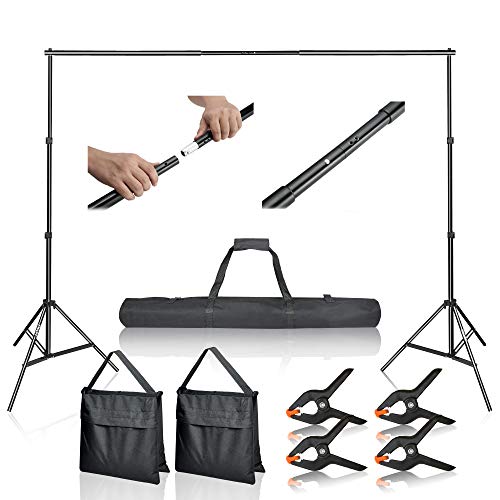
Yes, they’re all checking out your place, judging you silently. Who wouldn’t? If the room behind you is a mess, you might want to tidy up a bit. Or angling your laptop left or right, looking into a corner, could make all the difference (yes, you have to move your chair too). A giant, bright window back there is not your friend. The simpler the view behind you, the better. If I really need to be formal or professional, I use a fabric backdrop, but that’s just me. Too much? Probably.

Sound
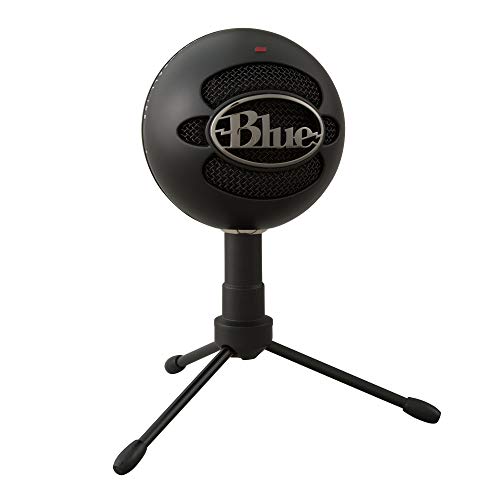
We’ve all been there. They can’t hear you, and you can’t hear them. It’s because you’re too far from the (tiny) microphone and speakers. You probably already have AirPods which seem to be the current trend. If you want to up your game use a good USB mic and let it live on your desk like this cute Blue Snowball iCE or this Rode.


By the same token, you don’t want to strain to hear the other participant(s) clearly. Laptop speakers are pretty puny, but I have studio monitors (I like quality audio) in my office — when using my laptop, any bluetooth speaker is a good fix.
Simple Lighting
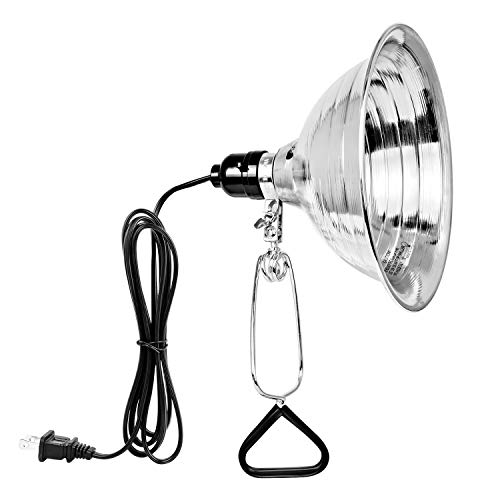
During the day, a nearby window is ideal, preferably frontal or to the side. If you’re not so lucky, and the natural ambience isn’t flattering, perhaps it’s best to draw the shades and do a bit of lighting. Chances are you’re facing a wall; try pointing a light at it (a simple clamp light would work) for soft, bounced light. Don’t underestimate the simplicity of this. But even a good desk light with a lampshade will do. And it’s WAY more natural than the overused ring light cliché. But hey, a million influencers can’t be wrong… or can they?
A simple light with a lampshade near your laptop or monitor works wonders too. Hot tip: a round paper lantern is inexpensive and flattering. Don’t laugh - many filmmakers (myself included) have used all these techniques.

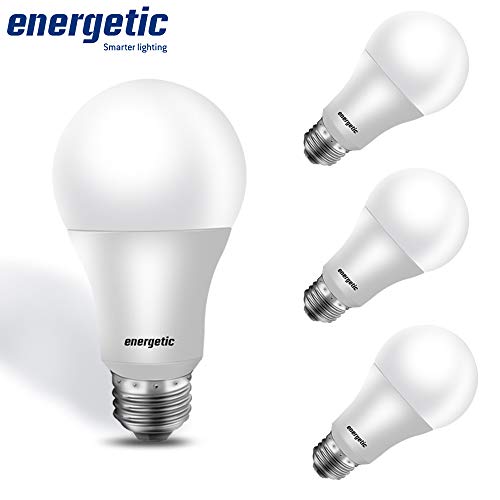
It’s very important to have 5000K bulbs (for day) and 3000K (for night) to keep colors accurate. If you get it wrong, you’ll look orange in the day, or blue at night. Don’t worry, they’re LEDs and are not expensive.
I have a medium sized soft box that I use quite often. This entry level kit gives similar results and only costs about $40.

Picture: Software
FaceTime (Mac only)
Download the video conferencing software of your choice. Your workplace might already have a preference. They’re free! I’ve used all of them.
Some have the Virtual Background setting, which puts you into any photo. There’s often a ‘touch up my appearance’ button - who wouldn’t use this? Some have the option to blur the background, which is nice when the place is a mess.

Zoom’s virtual background

Skype’s background blur
What frustrates me most about video meetings is the inability to adjust exposure, contrast, and color on one’s computer. We’e all seen the computer struggling to find the focus, or exposure changing wildly as you move in front of a light or window.
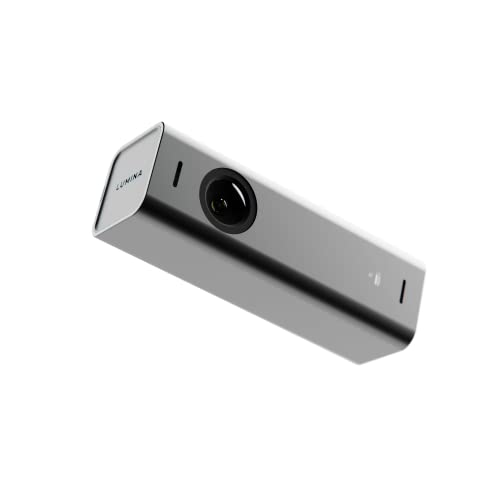
2022 UPDATE: the above problems are gone, thanks to my new webcam of choice: the Lumina, a camera that clips to your laptop and uses AI to give you both auto or fully manual exposure and color calibration, ability to zoom in or out as needed, and can track your motion. All at 4K resolution to boot. It rocks!
Now, if you already have a DSLR or mirrorless camera, you can stream sessions in broadcast quality (whatever that means), or even a YouTube channel, for that matter. I happen to have a Fujifilm X-T3, which I used for a while, but I feel it’s a bit overkill now for Zooms. Especially now that there’s the Lumina above.

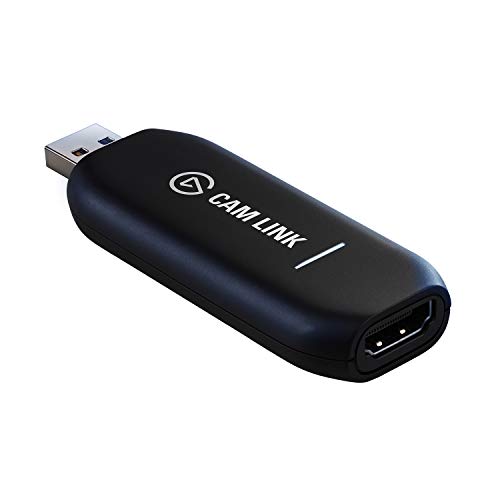
Should you choose the ‘real camera’ route, you’ll need a video interface to make that happen. This takes the HDMI video signal from the camera and sends it to your computer via USB. A cable or adapter alone will NOT work. The Cam Link 4K was the clear choice, until its price doubled and tripled mysteriously, so try a cheaper version instead. Fortunately, Fujifilm, Canon, and most recently, Panasonic/Lumix have recently provided firmware updates that require nothing but a USB cable between camera and computer.
Also, your camera was never meant to be left on forever, so you’ll need a continuous power source. This plugs into the wall, and connects to the camera via an adapter shaped like a battery. You’ll have to search for the model that works with your brand and model. Here’s mine to get you started (warning - some third party models are flimsy, but they work fine).

Advanced Lighting
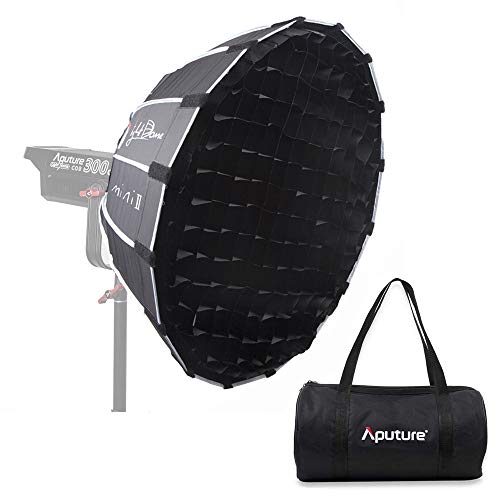
If you’ve read this far, you clearly have one foot in the endless rabbit hole that is lighting/photography. I am not of the opinion that more, expensive equipment always gives the best results (hence my $30 solution above), but hey, I do this for a living so I do have some kit. At home I have a couple soft boxes, two Luxli TImpanis (great for bouncing into walls) and an Aputure 300D with a Light Dome II modifier. These are perfect for smaller projects - like this one. Aputure also makes the 120D which is a smaller version.


Thanks for joining me on this journey. None of this is new; it’s just become a greater part of our lifestyle, for more us than we ever thought possible. Hopefully you feel inspired to play around with your new home studio, and when it’s time to go back to normal work, you’ll still shine when those inevitable video conference calls arise. Hit me up on Instagram or Twitter with any questions or comments!

Larryfong.com is a participant in the Amazon Services LLC Associates Program, an affiliate advertising program designed to provide a means for sites to earn fees by advertising and linking to amazon.com.